A1HE

Excavator tilt coupler attachment

How a Tilt Coupler Works: 5 Things Every Operator Should Know

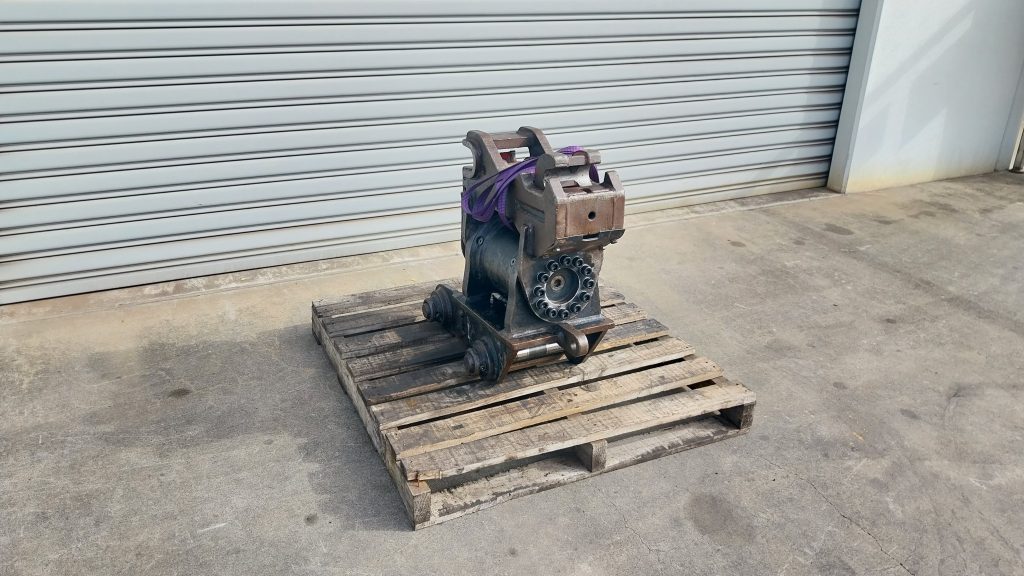
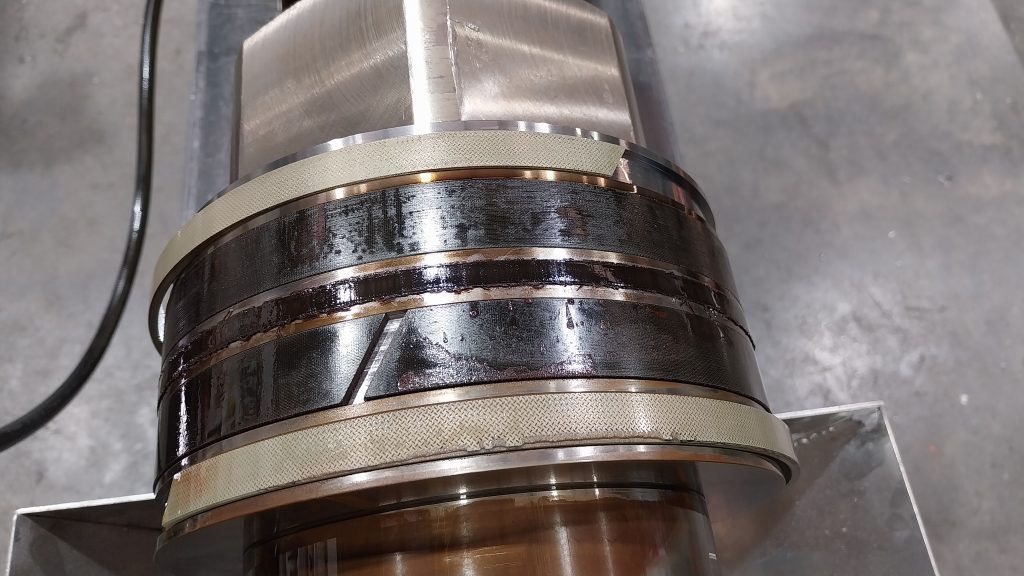
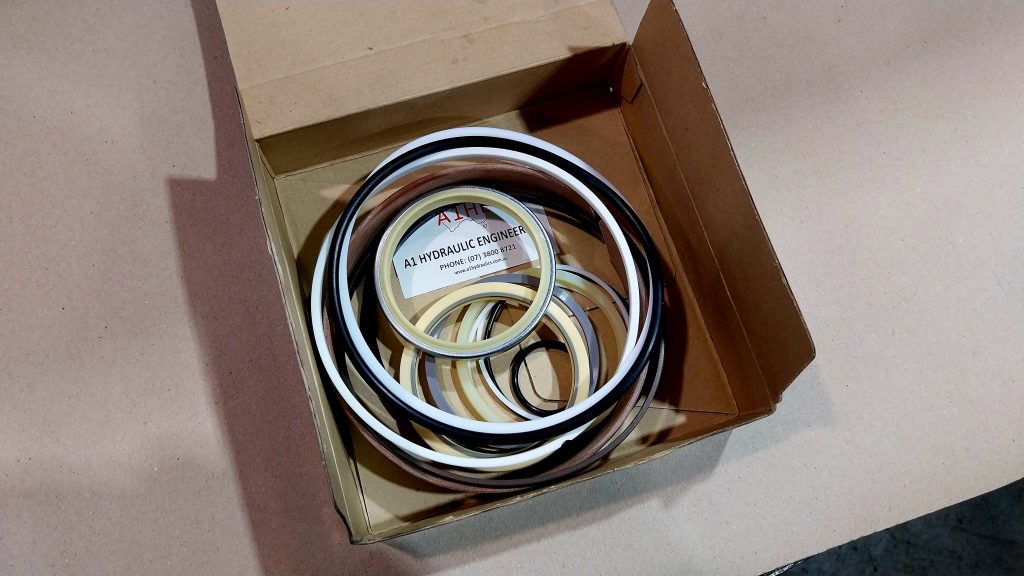
How Does a Tilt Coupler Work? (And Why Understanding It Will Save You Money) 📍 Serving Southeast Queensland & All of Australia  |  🕐 6 min read In this article you will learn: ✔ What a tilt coupler actually does inside your machine ✔ The technology that makes it tilt ✔ The three key internal parts and why each one matters ✔ What to do every week to keep it running strong ✔ The warning signs that mean it needs a tilt coupler service If you own or operate an excavator with a tilt coupler (sometimes called a tilt hitch) you already know the value it adds on the job. Grading a batter, cleaning a table drain, finishing a berm, work that used to mean constant repositioning now just means adjisting the angle and getting on with it. What most operators do not get much time to think about is what is actually happening inside the unit. And that matters because understanding how a tilt coupler works is the foundation for knowing how to look after it properly. This guide walks you through the mechanics clearly and accurately so you can get the most life out of your tilt coupler and catch problems before they become expensive ones. What Is A Tilt Coupler? A tilt coupler is the unit that sits between the excavator arm and the bucket or attachment. Its job is to allow the bucket to rotate on the horizontal axis, tilting left and right independently of the machine’s main arm movement. Without it, matching the bucket angle to a sloped surface means repositioning the whole machine. With it, the operator adjusts the angle from the cab and keeps working. That efficiency adds up fast across a full days work. Common applications include: Grading and battering sloped ground Cleaning and profiling table drains and stormwater channels Landscaping and finish grading Backfilling trenches at an angle Any application where the working surface is not level How Does a Tilt Coupler Work? The tilt coupler uses hydraulic pressure to drive a piston inside the actuator body. What makes it different from a standard cylinder is what happens next: that linear piston movement is converted into rotational output through a set of helical spline teeth. The helical splines are machined at an angle along both the piston and the central shaft. As hydraulic pressure drives the piston axially (that is, in a straight line) the angled engagement of those spline teeth forces the shaft to rotate simultaneously. The housing remains stationary. The result is that linear hydraulic force becomes controlled rotational torque at the output end, which is what tilts the bucket. Pressure applied to Port 1 drives the piston in one direction, rotating the shaft and tilting the bucket one way. Pressure applied to Port 2 reverses the piston travel, reverses the shaft rotation, and tilts the bucket back. Full travel from stop to stop typically takes between 2 and 6 seconds depending on the machine’s auxiliary flow rate. This helical sliding spline design is what gives the tilt coupler its combination of compact size and high output torque. And it is also why the condition of those spline teeth is so critical to the unit’s long-term performance. Worth knowing: The helical spline design is the same technology used in high-torque industrial rotary actuators. It is specifically chosen because it produces strong, smooth rotation from a compact package without needing a separate gearbox. That efficiency is also its vulnerabilities: the spline teeth must stay clean and lubricated, must operate within the correct pressure range, and its prescribed maintenece obligations to get maximum service life. The Three Key Parts Inside a Tilt Coupler Knowing what these parts do and how they interact makes it much easier to understand why the maintenance requirements are what they are. 1. The Housing The outer body of the actuator. It remains stationary during operation and contains the hydraulic port connections and the integral ring gear that the helical teeth engage with. 2. The Central Shaft The output shaft that rotates to tilt the bucket. Helical spline teeth on its outer surface engage with the piston. It also carries the relief valves, which protect the unit from pressure spikes that could damage the unit. 3. The Piston The hydraulically driven component that does the converting. It carries two sets of helical spline teeth: one on the inside diameter engaging the shaft, and one on the outside diameter engaging the housing ring gear. This dual-spline arrangement is what translates axial piston travel into high-torque shaft rotation. The seals on the piston are also what contain hydraulic pressure in each direction. Worn or contaminated seals here are a common cause of the unit failing to hold position. Keep in mind: These are precision-machined components operating under high hydraulic pressure and significant mechanical load. Contaminated oil, insufficient lubrication, or operating outside the recommended pressure range will accelerate wear on the spline teeth and seals, damage that is often invisible until the unit starts losing performance, begins leaking, or fails to hold position. Tilt Coupler Service Schedule: What to Do and When Every tilt coupler has its accompanying documents. You must check your specific unit’s instructions and schedule. The key is actually sticking to it. The following is what a typical tilt coupler’s service schedule could be: Every Week Grease both grease fittings with a high-quality lithium-based grease. Apply until fresh grease purges from the opposite exhaust grease fitting. Wipe off excess. Inspect the unit for visible wear or damage. Address anything immediately. Small issues caught early are straightforward; the same issues left alone are not. Check mounting pin lubrication. Inspect the unit for loose fasteners. Re-torque to spec if required. Every 1,000 Hours Perform a full hydraulic flush to the unit. Because the working fluid in a tilt coupler stays in a sealed circuit and does not circulate through the main system, it degrades and accumulates contamination faster than most operators expect. Regular flushing keeps the internal environment clean

How a Tilt Coupler Works: 5 Things Every Operator Should Know Read More »

Hydraulic cylinder resealing service for earthmoving equipment by A1 Hydraulics

Stop Hydraulic Leaks Before They Stop You: The 5 Resealing Steps Every Earthmoving Company Needs to Get Right

With growing infrastructure projects, government support, and rising demand for skilled operators and reliable machinery, the opportunities are immense.

Whether you’re an experienced earthmover or just considering entering the field, the potential for success is greater than ever.

Stop Hydraulic Leaks Before They Stop You: The 5 Resealing Steps Every Earthmoving Company Needs to Get Right Read More »

Excavators Working When Each Hydraulic Cylinder Services Reseal Serviced By A1 Hydraulic Engineering

3 Excavator Hydraulic Cylinders You Don’t Want To Neglect

When you’re running an excavator day in and day out, hydraulic cylinders are the silent workhorses behind every move your machine makes. From digging to lifting to demolition, each cylinder plays a critical role in keeping your heavy equipment operating smoothly.  But like all hard-working components, these cylinders need proper care to keep running at their best. Neglecting these directly affects your productivity and profits. Let’s break down the 3 hydraulic cylinders, the conditions they face, the condition they could be in, and what to do about it.de Boom Cylinder: The Heavy Lifter The boom cylinder lifts and lowers the boom, the main arm of your excavator. It’s responsible for handling the heaviest loads. Operating conditions: The boom cylinder operates under extreme pressure, especially when lifting heavy materials or digging deep. Over time, seals can wear out, and leaks and ‘drift’ or ‘creep’ can develop. ‘Drift’ or ‘creep’ is when the boom cylinder, or cylinders, can’t maintain the pressure needed to hold the boom in place. This results in the boom to slowly drop over a short time, especially when holding a load. Active servicing the boom cylinders avoids losing lifting power and slowing down your productivity. .  Arm Cylinder: The Reach The arm cylinder (aka: stick , dipper, crowd) extends and retracts the arm, controlling how far your excavator can dig. It faces a lot of wear when digging into hard soil or rock. This constant movement under load can wear seals and cause leaks. At times, excavators are used like a crane. And just like the boom, the arm cylinder it can dovelop ‘drift’ or ‘creep’ too.   Why it’s important to service: A sluggish or leaky stick cylinder means losing control and precision, making it harder to dig efficiently. Keeping this cylinder in top shape ensures smooth, responsive operation every time. Bucket Cylinder: Your Material Mover The bucket cylinder controls not only the bucket, but every every other attachment the operator uses. The operating conditions it is exposed to are harsh: Heavy loads, constant movement, and harsh material contact can damage the chrome rod and seals worn quickly. On top of this, when using a hammer attachment for rock or concrete breaking, the bucket cylinder is taking a lot of punishment. Massive rock-breaking energy goes to this ram while it’s holding the hammer attachment in position.  Why it’s important to service: A leaky bucket cylinder leads to slower cycle times and less force, dragging out your work and reducing productivity. Maintaining this hydraulic cylinder ensures your bucket moves as fast as you need it to, without leaks or power loss. How To Get Hydraulic Cylinder Help We specialise in servicing hydraulic cylinders for the mining, earthmoving, and heavy equipment industries, ensuring your equipment operates at peak performance with minimal downtime. Contact us today to have your hydraulic cylinders serviced by our expert team, allowing you to focus on maximising productivity and efficiency in your operations. Contact us on 07 3800 8721 and a friendly team member will help you get the best solution for you GET YOUR FREE QUOTE NOW Written by The A1HE Team Date: 27.09.2024

3 Excavator Hydraulic Cylinders You Don’t Want To Neglect Read More »

box of mixed Hydraulic cylinder seals reseal resealing for heavy equipment earthmoving mining quarries.

The 5 Hydraulic Cylinder Resealing Must-Knows

When it comes to hydraulic cylinder resealing, doing it right the first time is crucial. You’ve taken the initial steps: disassembled the hydraulic cylinder and gathered a set of brand-new seals. Now it’s time to reassemble and get the hydraulic cylinder back to work. But without the right approach, all your efforts could go to waste if leaks or performance issues resurface. To help you avoid setbacks and ensure long-lasting results, here are five essential must-knows for hydraulic cylinder resealing. By following these steps, you’ll improve reliability and restore the cylinder’s performance. And don’t worry—this guide assumes the seals you’ve sourced are compatible with your machine and its hydraulic fluid. #1 Inspect Thoroughly Before you even think about installing the new seals, inspect the hydraulic cylinder itself. Check the barrel bore and the chrome rod for wear, scoring, or damage. Any compromised components should be repaired or replaced before you proceed. Why it matters: New seals won’t fix underlying damage. Overlooking this step risks recurring leaks and further downtime. #2 Confirm Seal Quality Not all seals are supplied equal. Inspect each item in your new seal kit closely. Even if they look fine at first glance, examine them for defects or signs of poor manufacturing. Pro tip: If you’re not 100% satisfied with the quality of the seals, don’t hesitate to replace them. High-quality seals are essential for long-term reliability. #3 Master the Technique Installing seals requires precision and care. Avoid forcing seals into place—this can kink or damage them, compromising their effectiveness. For internal grooves, consider using dedicated seal installation tools to make the process smoother. For external seals: Expand the seal just enough to fit over the component. Over-stretching can weaken the material, reducing its lifespan and effectiveness. #4 Mind the O-Rings When installing O-rings, always check that they aren’t twisted. A twisted O-ring can’t provide proper sealing and will wear out quickly. Pro tip: Use tools with rounded or smooth edges to prevent damage during installation. Sharp tools can nick the O-ring, causing premature failure. #5 Choose the Right Lubricant Not all lubricants are compatible with hydraulic seals. Avoid using greases with solid additives, such as molybdenum disulphide, which may damage your seals. Instead, opt for the hydraulic oil your machine already uses. How to apply:  – Use a light coat of hydraulic oil to lubricate seals that need to stretch into grooves, like piston seals.  – Apply a thin film of oil to the barrel bore before reassembly for smoother operation. Expert Help for Hydraulic Cylinder Resealing While these steps can set you up for success, resealing a hydraulic cylinder is a meticulous and time-consuming process. In industries like mining and earthmoving, downtime is costly, and handling repairs in-house may not always be the best use of your resources. That’s where we come in. By entrusting your hydraulic cylinder resealing to our expert team, you gain:  – Time savings: Get your equipment back to work faster.  – Professional assurance: Enjoy peace of mind with our workmanship warranty.  – Specialist expertise: We handle resealing, repairs, and remanufacturing with precision, ensuring optimal performance and reliability. We specialise in servicing hydraulic cylinders for mining, earthmoving, and heavy equipment industries, helping you minimise downtime and maximise productivity. Contact us on 07 3800 8721 and a friendly team member will help you get the best solution for you. Don’t let equipment issues slow you down!  Let us take care of your hydraulic cylinders so you can focus on what you do best. GET YOUR FREE QUOTE NOW Written by The A1HE Team Date: 05.07.2024

The 5 Hydraulic Cylinder Resealing Must-Knows Read More »

error: Everyone wants the secret sauce... nobody wants to actually REPAIR their hydraulic cylinders. You too?